Step 7 - Configuring the Layers
In order to organize the drawing better and allow editing of shapes that overlay other shapes without risking selecting objects within the background, we will use the layers feature of TouchDraw. Imagine a stack of paper where each layer is like a sheet of paper in that stack. One of those sheets of paper can be drawn without impacting what’s on the other sheets of paper; however, where layers differ is that layers are like transparent pieces of paper. One sheet can be drawn while seeing what is on the sheets above and below it without impacting them (if other layers are locked).
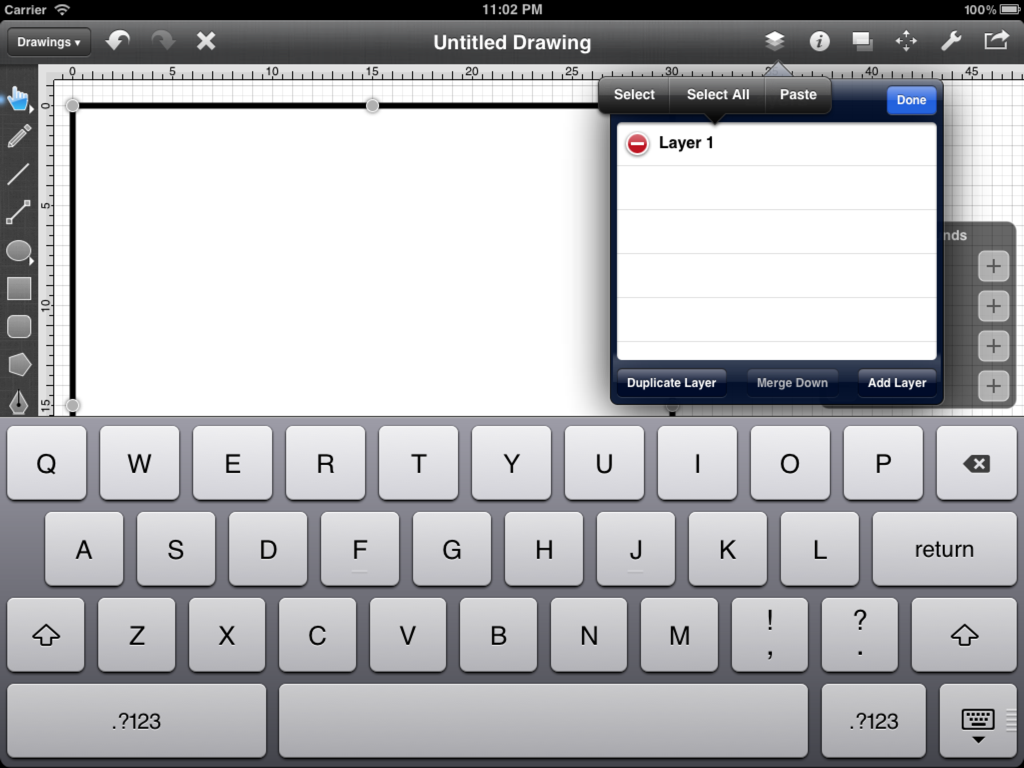
Right now, only one layer resides within the drawing (which has the default name “Layer 1”); however, when the tutorial is completed, the drawing will have a total of 10 layers:
- Exterior Walls
- Interior Walls
- Door Cutouts
- Doors
- Stairs
- Bathroom Fixtures
- Fireplace
- Kitchen
- Dimensions
- Room Names
Open the Layers Menu to begin setting up the layers. This can be done by pressing on the Layers Button in the Top Toolbar (highlighted below).

Once the Layers Menu has been opened, the following menu will appear:
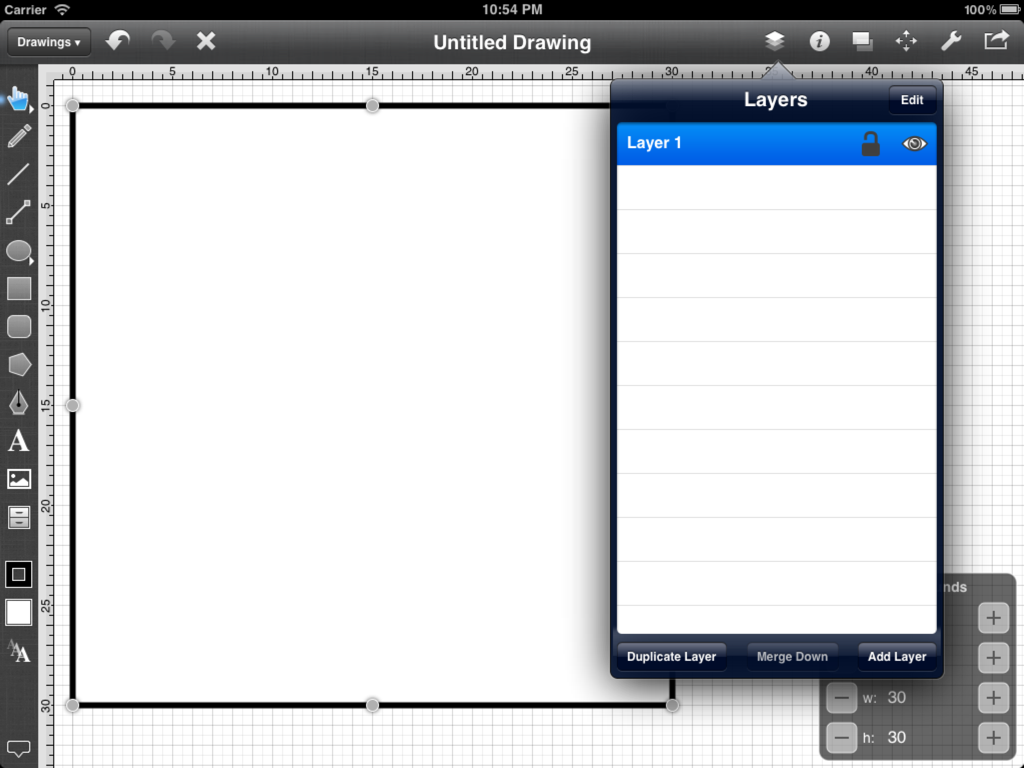
The Layers Menucurrently lists Layer 1 as the only layer in the drawing.
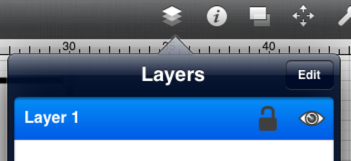
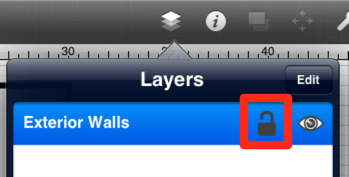
Two icons (buttons) reside to the right of the layer name. The first button is both an indicator and toggle for whether or not that specific layer is locked. The second button is both an indicator and toggle for whether or not that layer is visible. When a layer is locked (and visible) the contents of that layer can be seen; however, it will not be able to be selected or edited. This is a useful option for drawing over something in the background without worrying about accidentally selecting or modifying it.
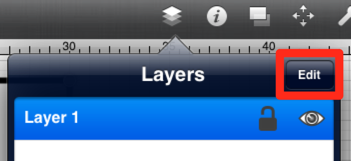
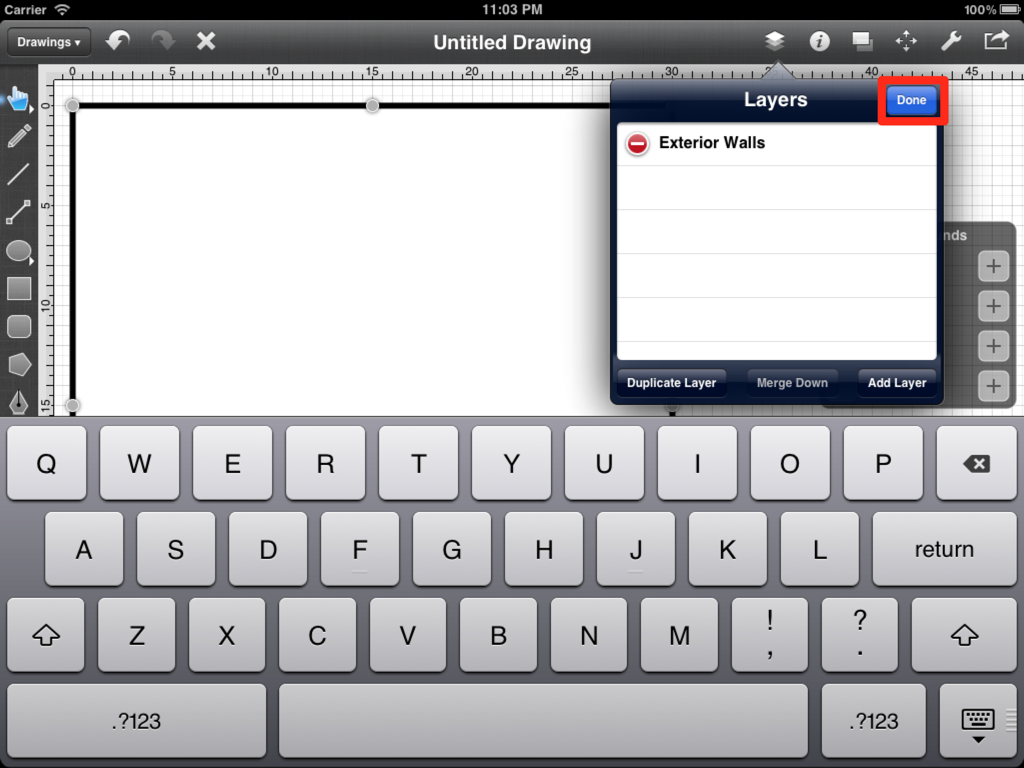
First, rename Layer 1 to Exterior Walls. This process can be started by pressing on the Edit Button in the Layers Menu.
After pressing on the Edit Button, the menu will change and appear as follows.
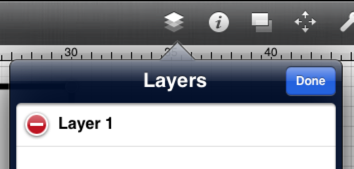
While not needed now, the Delete Item Button (red circle with minus sign) is available for deleting the selected layer. To rename the layer, tap on the name of the layer to bring up the keyboard for editing the name.
After the layer has been renamed to Exterior Walls, press on the blue Done Button in the upper right hand corner of the Layers Menu to save the change and exit the special edit mode.
Next, press on the Lock Icon (Button) to lock this layer since no additional changes will need to be made to the Exterior Walls.
Creating a layer for the interior walls is the next step of this process. To accomplish this addition, press on the Add Layer Button located in the bottom of the menu.

After pressing on the Add Layer Button, TouchDraw will add and select a new layer called Layer 2.
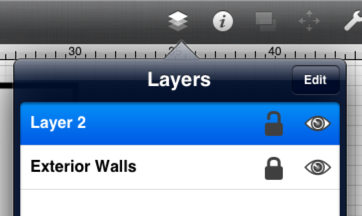
Repeat the steps above for renaming Layer 1 to Exterior Walls_to rename _Layer 2 to Interior Walls.
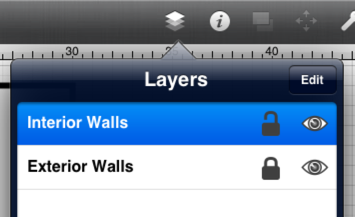
Note: Make certain the Interior Walls layer is selected (highlighted in blue) before dismissing the Layers Menu when completing this step. When the shapes are created in the next step, they will be added to the currently selected layer, which should be the Interior Walls layer.